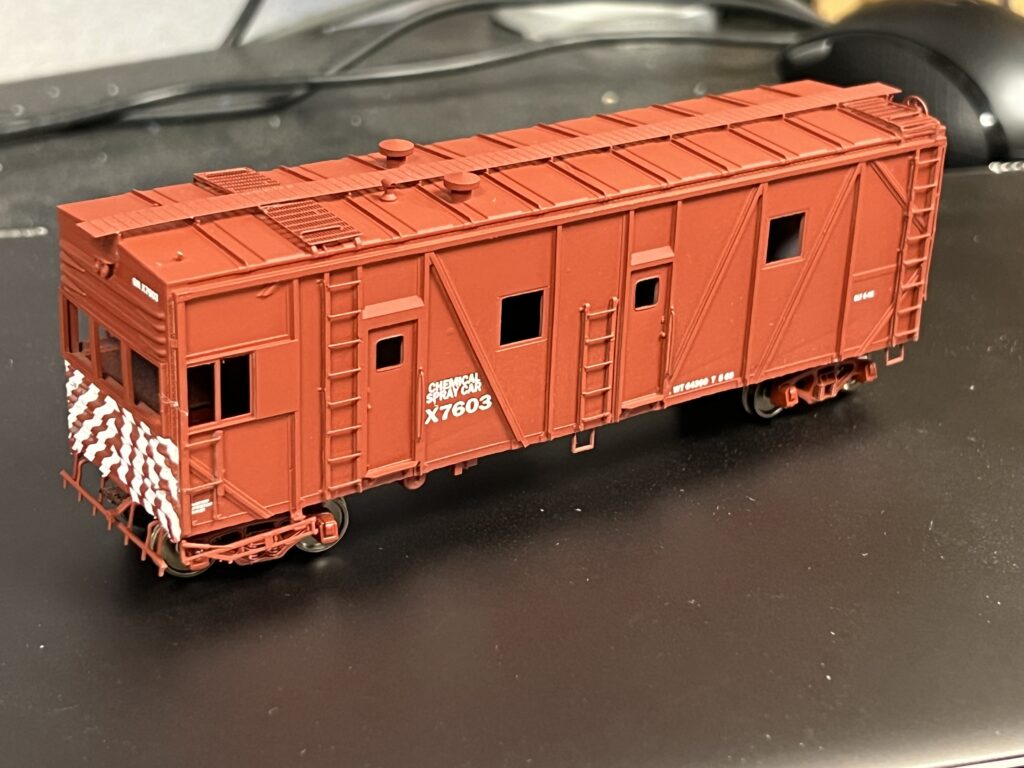
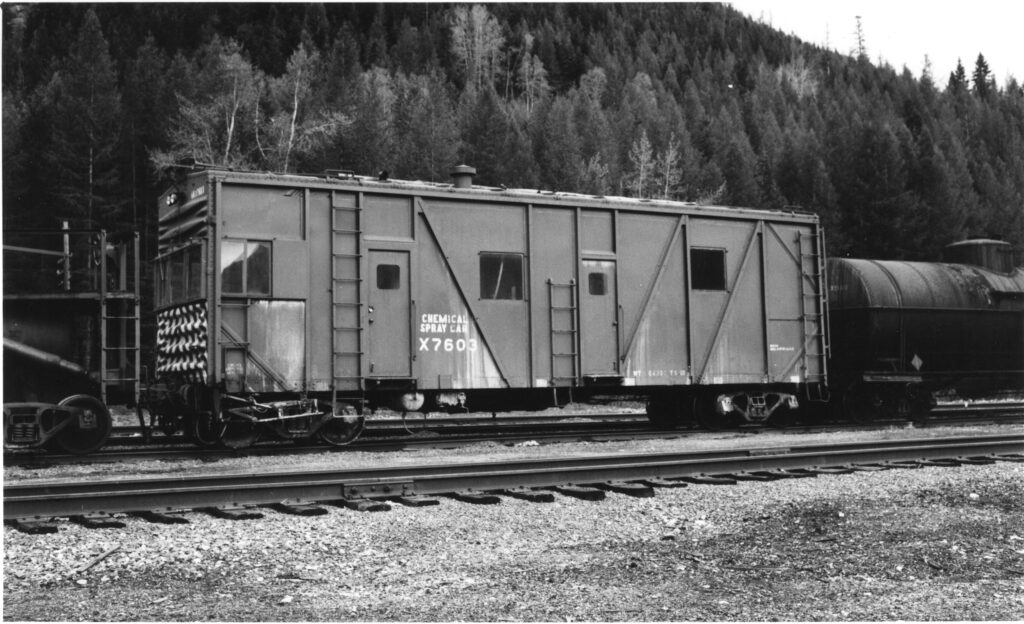
x7603 Chemical Spray Car
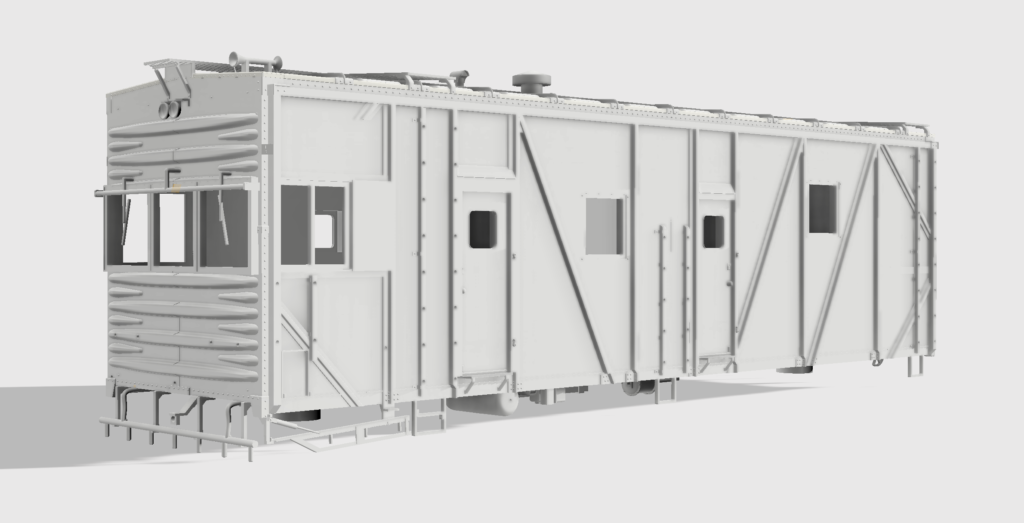
The GN X7603 Chemical Spray Car is one of several MoW cars the Great Northern employed in the battle with weeds over the years. This one of a kind car was built in 1963 from a 45000 series Great Northern box car originally built in 1942.
I have developed a 3D printed craftsman kit of X7603 in HO scale that is now availble oin the GNRHS.org store. The kit features a one piece body, an underbody with many molded details and loads of added details including Tichy grabs, Plano roof walk, Tahoe Model Works truck frames, wire, screws, window material, a grab iron bending jig and custom decals. Couplers are not included.
The kit is oriented to the experienced craftsman kit builder. The most complicated aspect are the 65 metal grabs. That is a lot of holes and plenty of opportunity to make a mistake. A powered dril is highly reccomended. The assembly of the pilot kit was the first craftsman kit I ever built so it can be done with no experience but this is not an one night kit.
Here is a link to the kit instructions.
Model Development
A history of GN weed sprayers is presented in the Great Northern Railway Society reference sheet #112 written by Frank B. Kahl. The datasheet is available for purchase from ghrhs.org. GHRHS reference sheet #419, which focused on these boxcars, provided many of the dimensional details. Additional sprayer car specific details were derived from the only two known (at the time) photos and dimensioned using the image scale analysis capabilities of Photoshop.
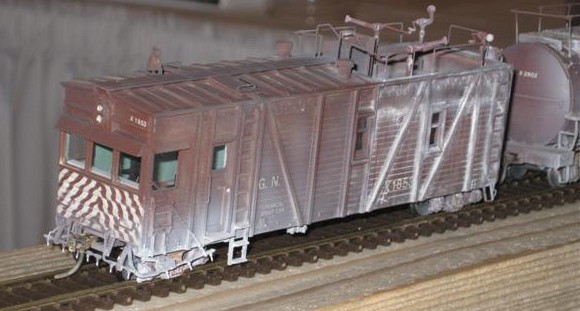
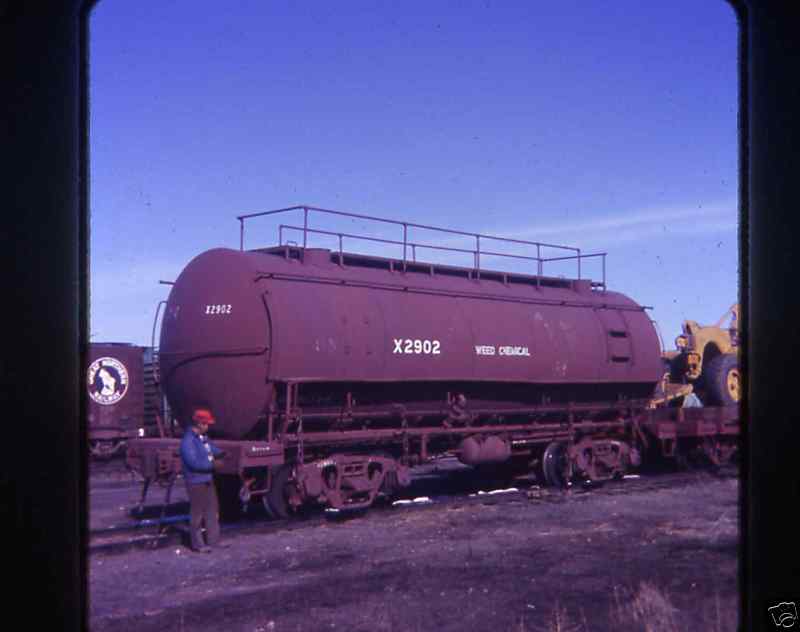
My inspiration to develop this car actually came from my missing out on obtaining the GN X1853 weed sprayer model from the GNRHS sold in 2009. This kit along with a unique tank car of a converted tender were produced in limited quantity as resin kits. I missed out on the sprayer car but I found two kits of the tanker over 10 years after orginal release in a St. Paul hobby shop.
CAD Model
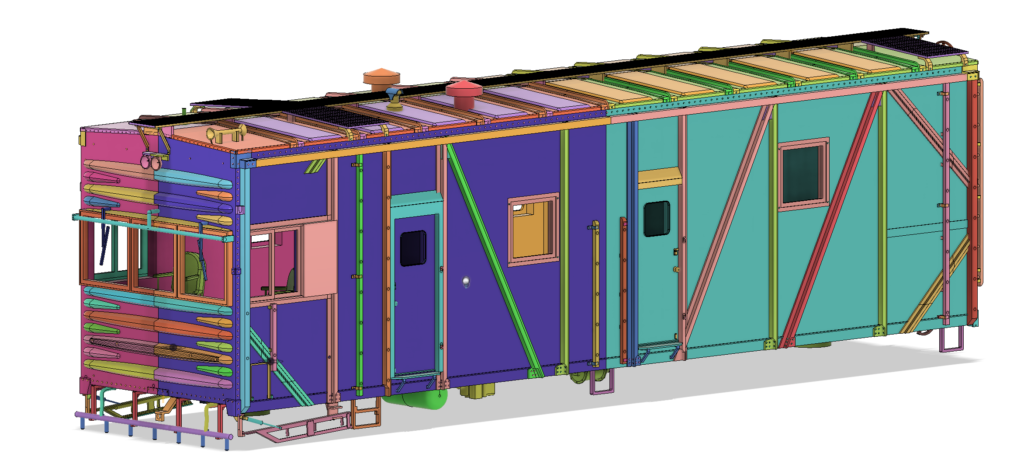
A view of the CAD model in Fusion 360 design mode. This mode helps identify different components by color.
Based on orginal box car drawings, a virtural model for X7603 was developed in the 3D modeling tool Fusion 360. This is a professional parametric computer aided drawing (CAD) application. AutoDesk is the publisher and is kind enough to make a free hobbyist version of the program that has nearly all of the features available in the paid version. I developed 90% of the model before I moved to the paid version when I made the decision to make the kit commerciallly available.
The learning curve for the tool is formidable but just another challenge of this hobby. There are plenty of high quality and free videos on YouTube that will teach you how to use the tool as well as training from Autodesk. I spent over a year developing the model and my skills. I made plenty of mistakes but have gained proficiency I have already applied to my next project. Of the many things I have learned, plan out your sub-assemblies so you can manage the model as it gets larger and more complex it becomes imperative. Learn how to mirror and copy and copy new. This will help speed you modeling greatly but confuse you even more if you do not use properly. I modeled the car in full scale and through the process of preparing the 3D print file reduced th e print size to HO.
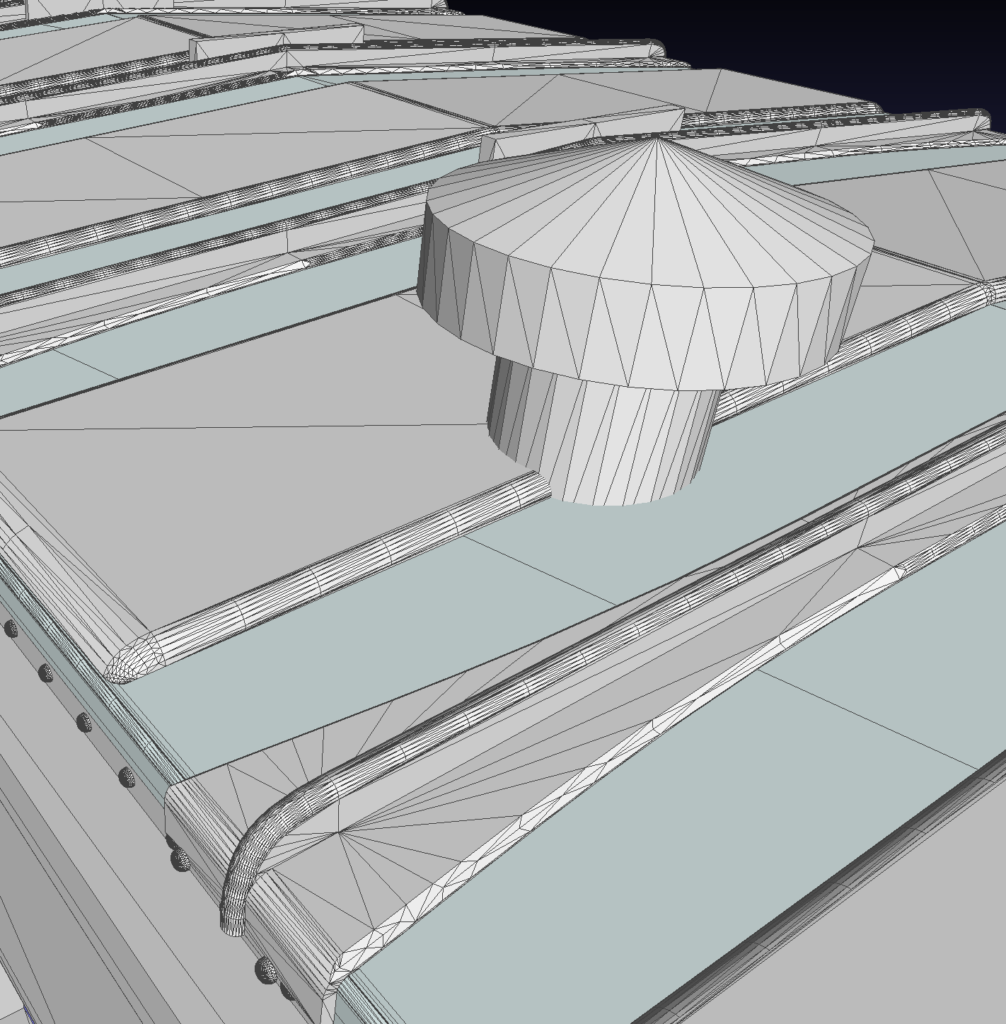
Fusion 360 has built in capability to convert your model into STL which a common 3D printing format. STL converts the model into a series of triangles. I exported from Fusion 360 in full scale and then opened the file in the free STL manipulation program MeshLab. It is in this program I shrunk the model to 1/87 or .01148 and again saved as an new STL file.
With the properly scaled STL file ready to go, we are ready for the 3D printing step.
3D Printing
Initially I had no intention of doing my own 3D printing. I mean as some point you have to draw the line on how far to you take this crazy hobby of model railroading. I had previous experience with 3D printing in a building model way back in 2013. There I had success with a service bureau.
I did try services with X7603. I had learned that the smoothest and finest details were available with SLA printing technology. Shapeways ultra high precision presented layers too pronounces. I did try a few samples with outside services tha had SLA but quickly determined the focus on fine detail was not going to be obtained through a bureau.
After a little research I decided on Elegoo Saturn 2 printer. This system has incredible 23um xy resolution and can print as think as 10um layers. A year later the systems have seen improvements but this remains the state of the art performance. These units are now less than $500.
As expected, 3D printing had a learning curve of its own. Once again I turned to YouTube for learning. Within a few weeks I was printing sample sections of my car. It was an iteratvive process to tune the model dimensions with practical limitations of the printing process and materials.
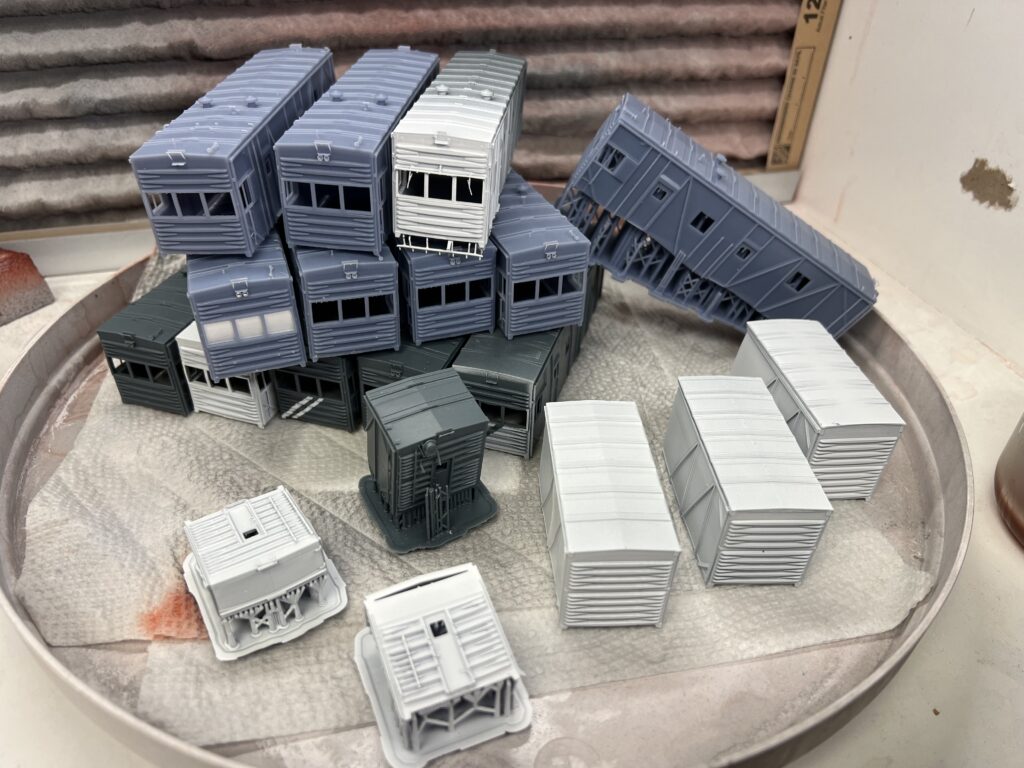
SLA 3D printing has a strange quirk – printing is accomplished upside down in thin slices of your 3D object in a vat of fluid resin. The next wierdest thing is you must add additional structures to the model to support anything that hangs over the base of your model. And finally, you generally have to print your object at an angle, assuring you have structure hanging over your base even if you are ptingin a box. The angle limits how large a contiguous area is printed at any given time limiting the forces of gravity and suction. A more complete explanation of the SLA printing process can ge seen here. All of this additional moe manipulation is achieved with yet anoth piece of software.
Each printer brand uses a specific application to prepare your STL files or printing. My Elegoo uses Chitubox. In Chitubox you arrange your STL files on the virtual printer platten and then use the tool to add in the supports you need to give the model something to hang on to while it is being printed up side down.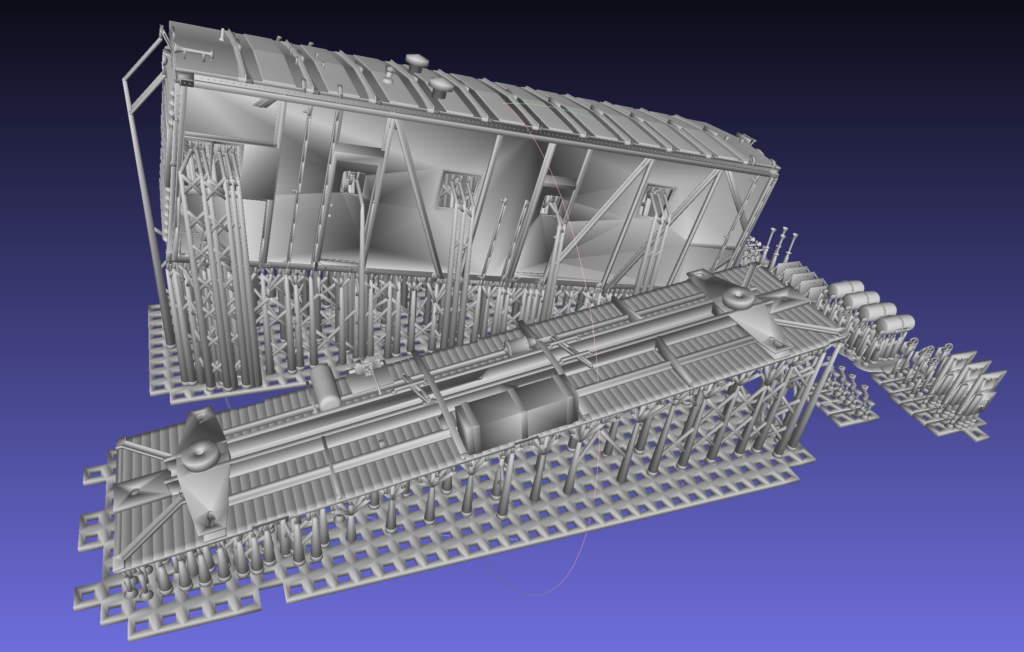
I could write a whole posting on the printing proces itself but here are the highlights of the key learnings.
- Syra Tech Build resin for the body. Just soft enough to support tapping. Spectacular detail
- Print model at 10 degree slope
- Keep your resin warm. 25C is a good temp. Easy in the Summer but in Winter you may need a vat heater
- Use a more flexible resign for really small parts. I used Syra Tech Blu mixed 50/50 with Build
- I printed at 20 um thickness. This took about 14 hours for a complete print.
Finishing the Model
After printing the shell and underbody, the project turns into a traditional resin kit.
