My preference in layout designs has long been shelf style. Presenting the railroad along a relatively thin space without the railroad circling back on itself provides a far more realistic presentation. The other thing I like about shelves is they work great for multi-levels which is a great way to pack in more layout in the same space. The down side of multilevel layout is the chief device to move up and down are helixes. Helixes eat a ton of space so there is a trade-off between the extra space and the added real estate.
Looking at my space of about 10 x 22 feet, there are basically two general options to the shelf idea: I can be inside a ring of shelves or I could put me outside of the shelves. Putting me inside of the shelve meant I would have a duck under situation. The relatively narrow width dimension also meant the there would really be a lot of corners with little straight track in-between. The helix would also take a large space out of the corner of the layout making the space inside the layout a bit cramped. I played with a number of design with the shelf around me strategy but did not really like anything I can up with so I turned my designs towards putting me outside the shelves.
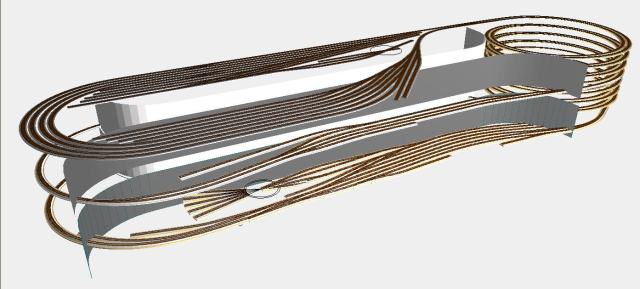
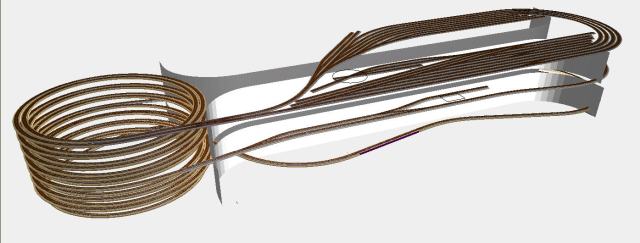
With a design placing me outside the shelves, the strategy for my space is to make the layout as long as possible to have the most long and straight runs. Adding to the depth just makes it bigger without exposing any more layout. The key design factor then becomes the size of the helix which is driven my curve radius standards. I decided on 26″ as my hidden track minimum radius. Since the helix needed to be double track ( one up and one down) the minimum width the helix is about 5 feet. With shelves of about 24″ I can put two shelves back to back with some space between. To bring the track around to the other side I needed about 28″. This leaves me with about 14 feet of shelf on one level to create my scenes. Put a shelf on both sides and double deck it and we get about 56 linear feet of scenic railroad.
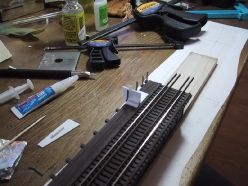
I was concerned whether a shelf could be 24″ deep and only 12″ high would work. I built a mock-up to test how it would look and convinced myself the effect was satisfactory. I decided to go a little shallower on the second level to provide better viewing of the lower level.
My track schematic strategy had always been some kind of dog-bone with reverse loops at both ends holding hidden staging. As I studied my options I struck upon the thought of adding a third but very thin level to provide my reverse loops and staging. The beauty of the helix is that once you have paid the price for the space you don’t use any additional space for additional levels.
So I had my concept: two back to back shelves, about 2 feet deep and about 12″ between levels. A third layer on top with height just enough to hold trains for hidden storage.
