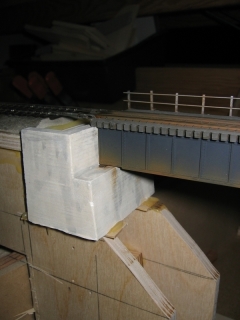
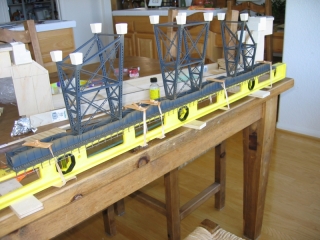
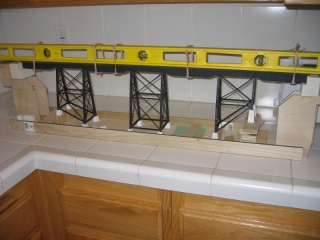
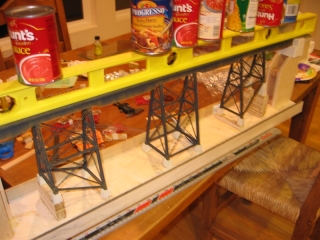
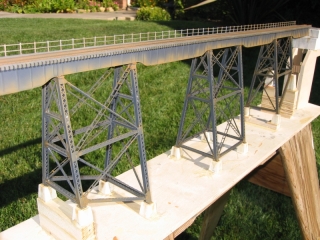
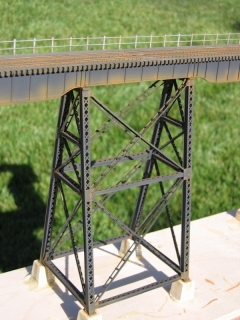
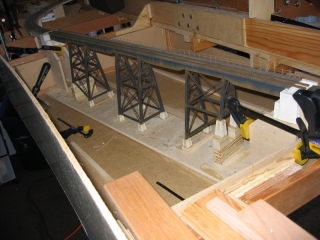
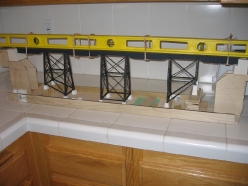
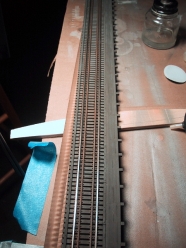
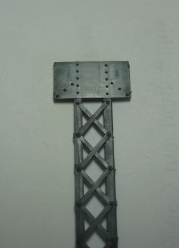
Its time to put all the pieces together to finish my model of the Coal Banks trestle. We will start with attaching the bridge piers to the bottoms of the trestle bents. I used a small amount of quick setting epoxy. Next I epoxied the bridge abutment castings to the removable wood frame. Wood spacers were used to adjust the casting to achieve the correct rail height.
(Upside) Top Down Assembly
My technique for assembling the towers to the girders is to invert the girder assembly and glue the towers upside down. This makes it much easier to align the towers and assures a tight fit. Allow the towers to dry thoroughly before proceeding to the next step.
Filling the Gap
The next step is to glue the bridge into place into the wood frame. We will really leverage the the stiffness the level provides us here as we are counting on it to keep the span stiff until we build in support under the piers. When the glue attaching the girders to the abutments is thoroughly dry, I started to fill in the spaces under the piers with wood blocks and tongue depressors as shims. Again I used epoxy which tended to fill gaps and encapsulate the pier castings.
The Completed Project
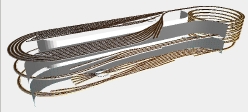
With the model fully assembled, we are ready to install the trestle into the layout.
I hope you found something useful in this series. Please let me know if you have any questions.
Coal Banks Bridge Project
This is the ninth and final article in a series on my model of the Coal Banks trestle. Below is a listing of all the installments:
- Coal Banks Trestle: Final Assembly (January 3, 2010)
- Coal Banks Trestle: Towers (January 3, 2010)
- Coal Banks Trestle: Abutments & Piers (January 2, 2010)
